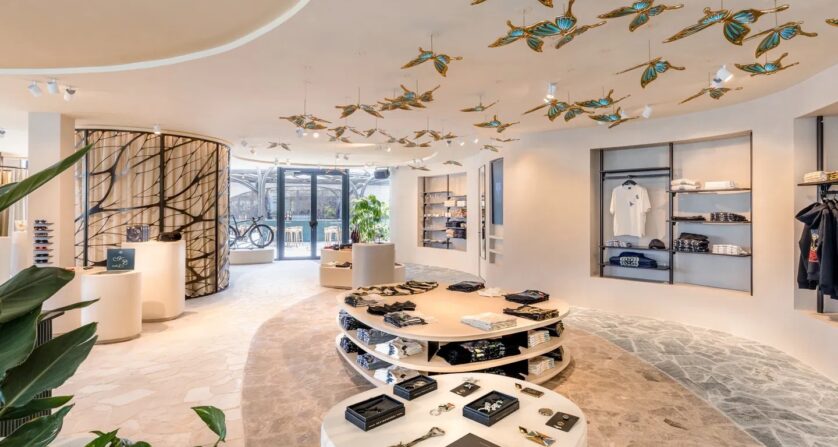
Step 1: Define Your Goals
First, determine what you want to achieve with your screen communication. This helps you make the right choices later in the process. Possible goals could include:
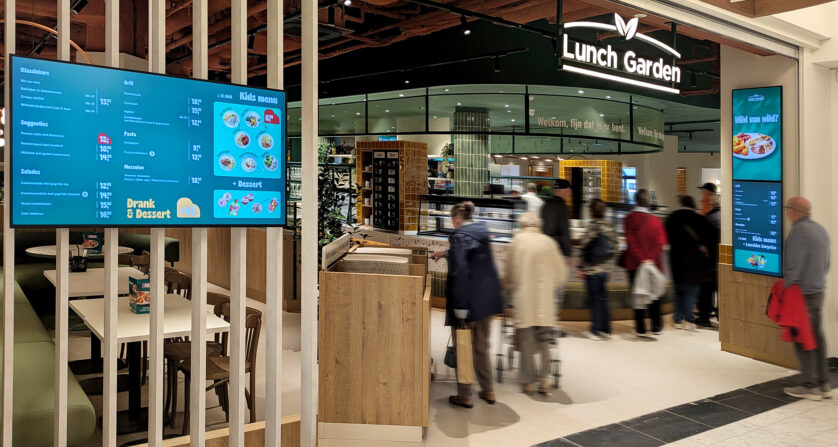
- Sharing information (such as news, announcements, or menus)
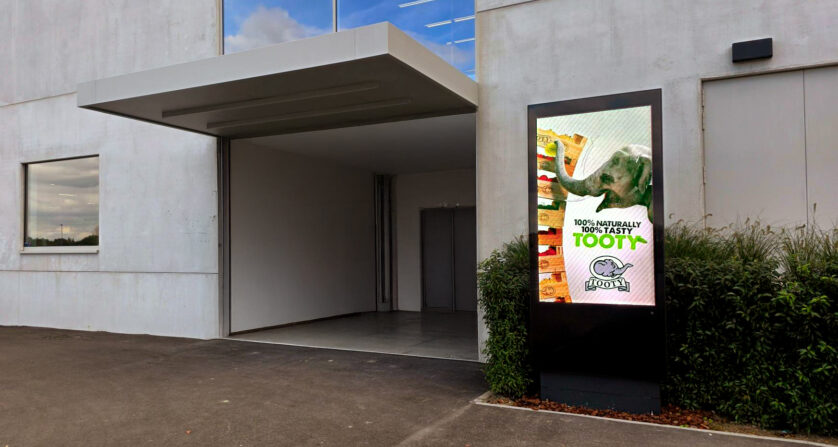
- Advertising (for products or services)
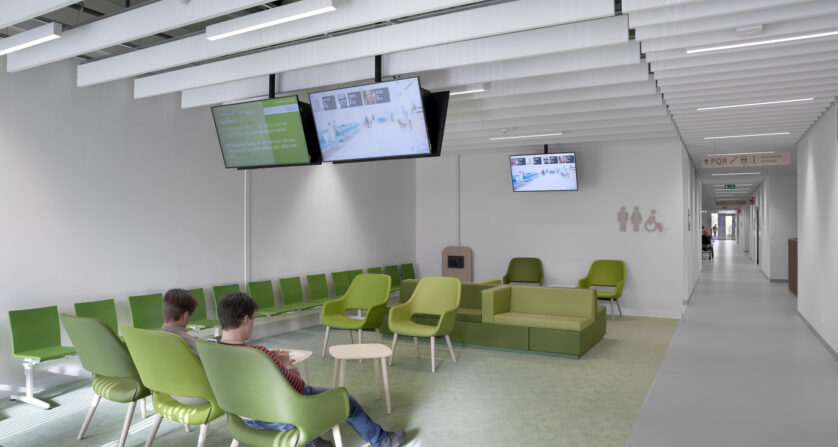
- Entertaining (such as reducing wait times with videos or news feeds)
- Creating interaction with your audience (via touchscreens, QR codes, ...)
- ...
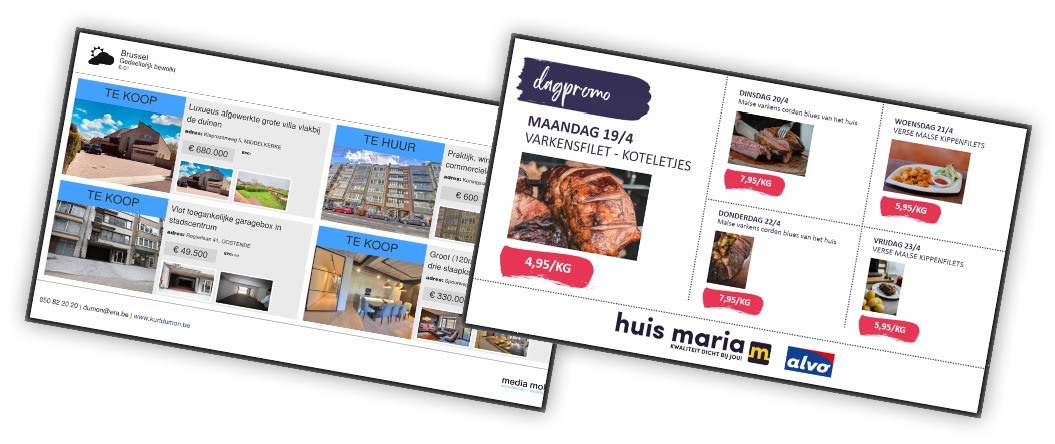
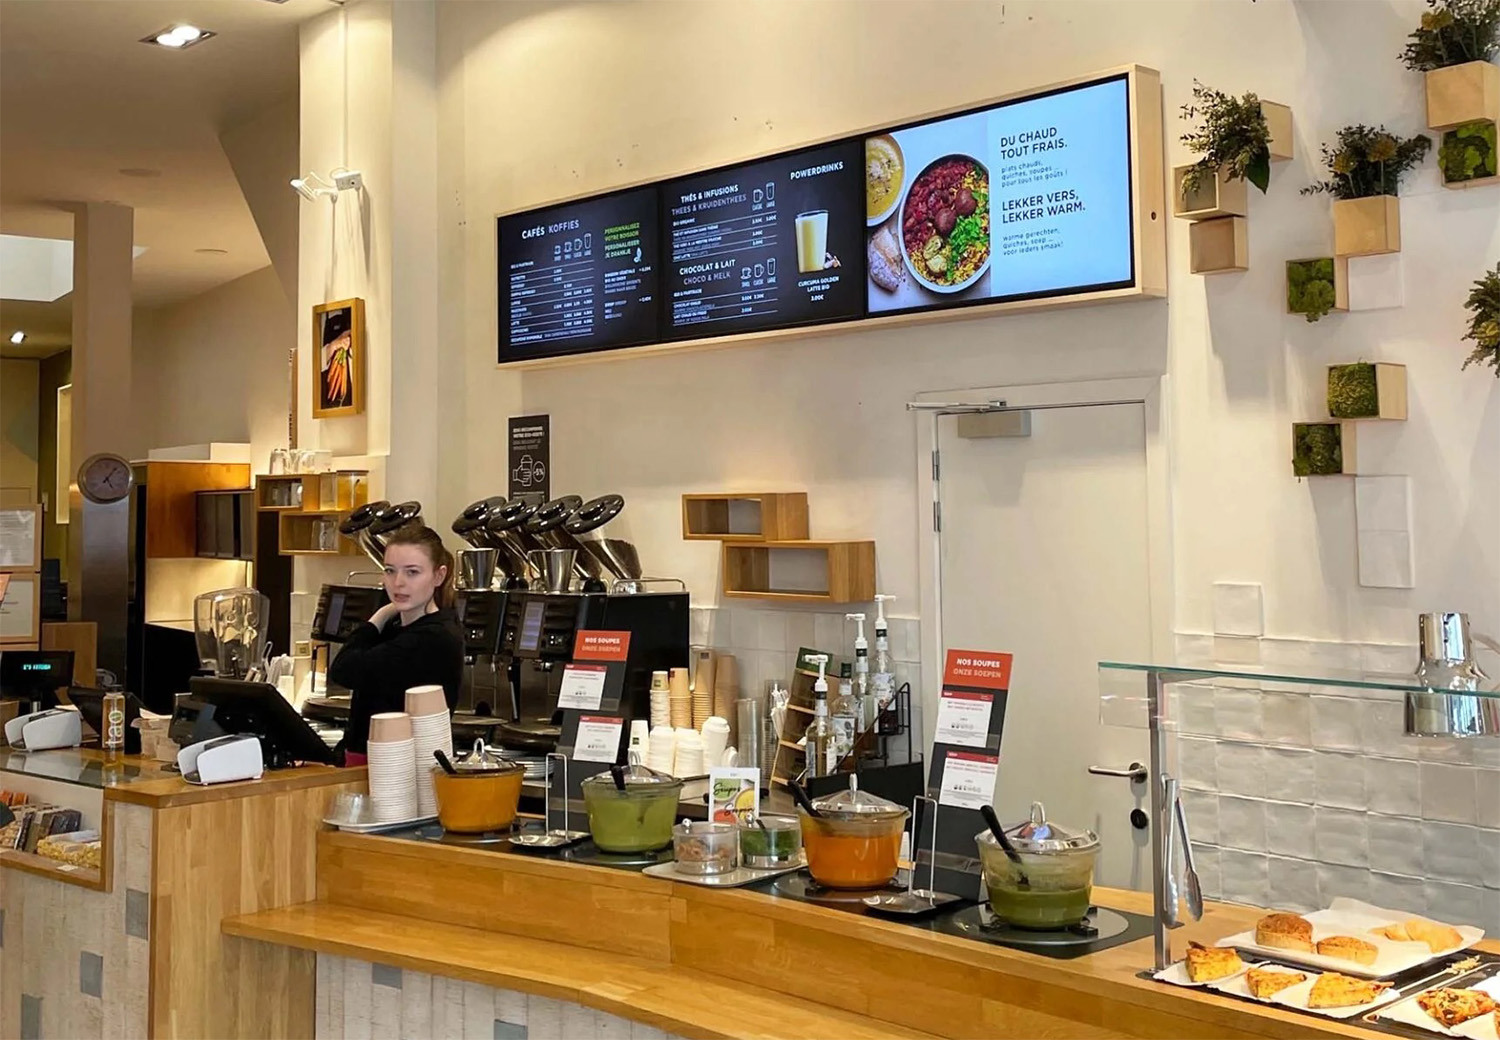
Step 2: Choose the Right Hardware
For digital signage, you will need the following hardware:
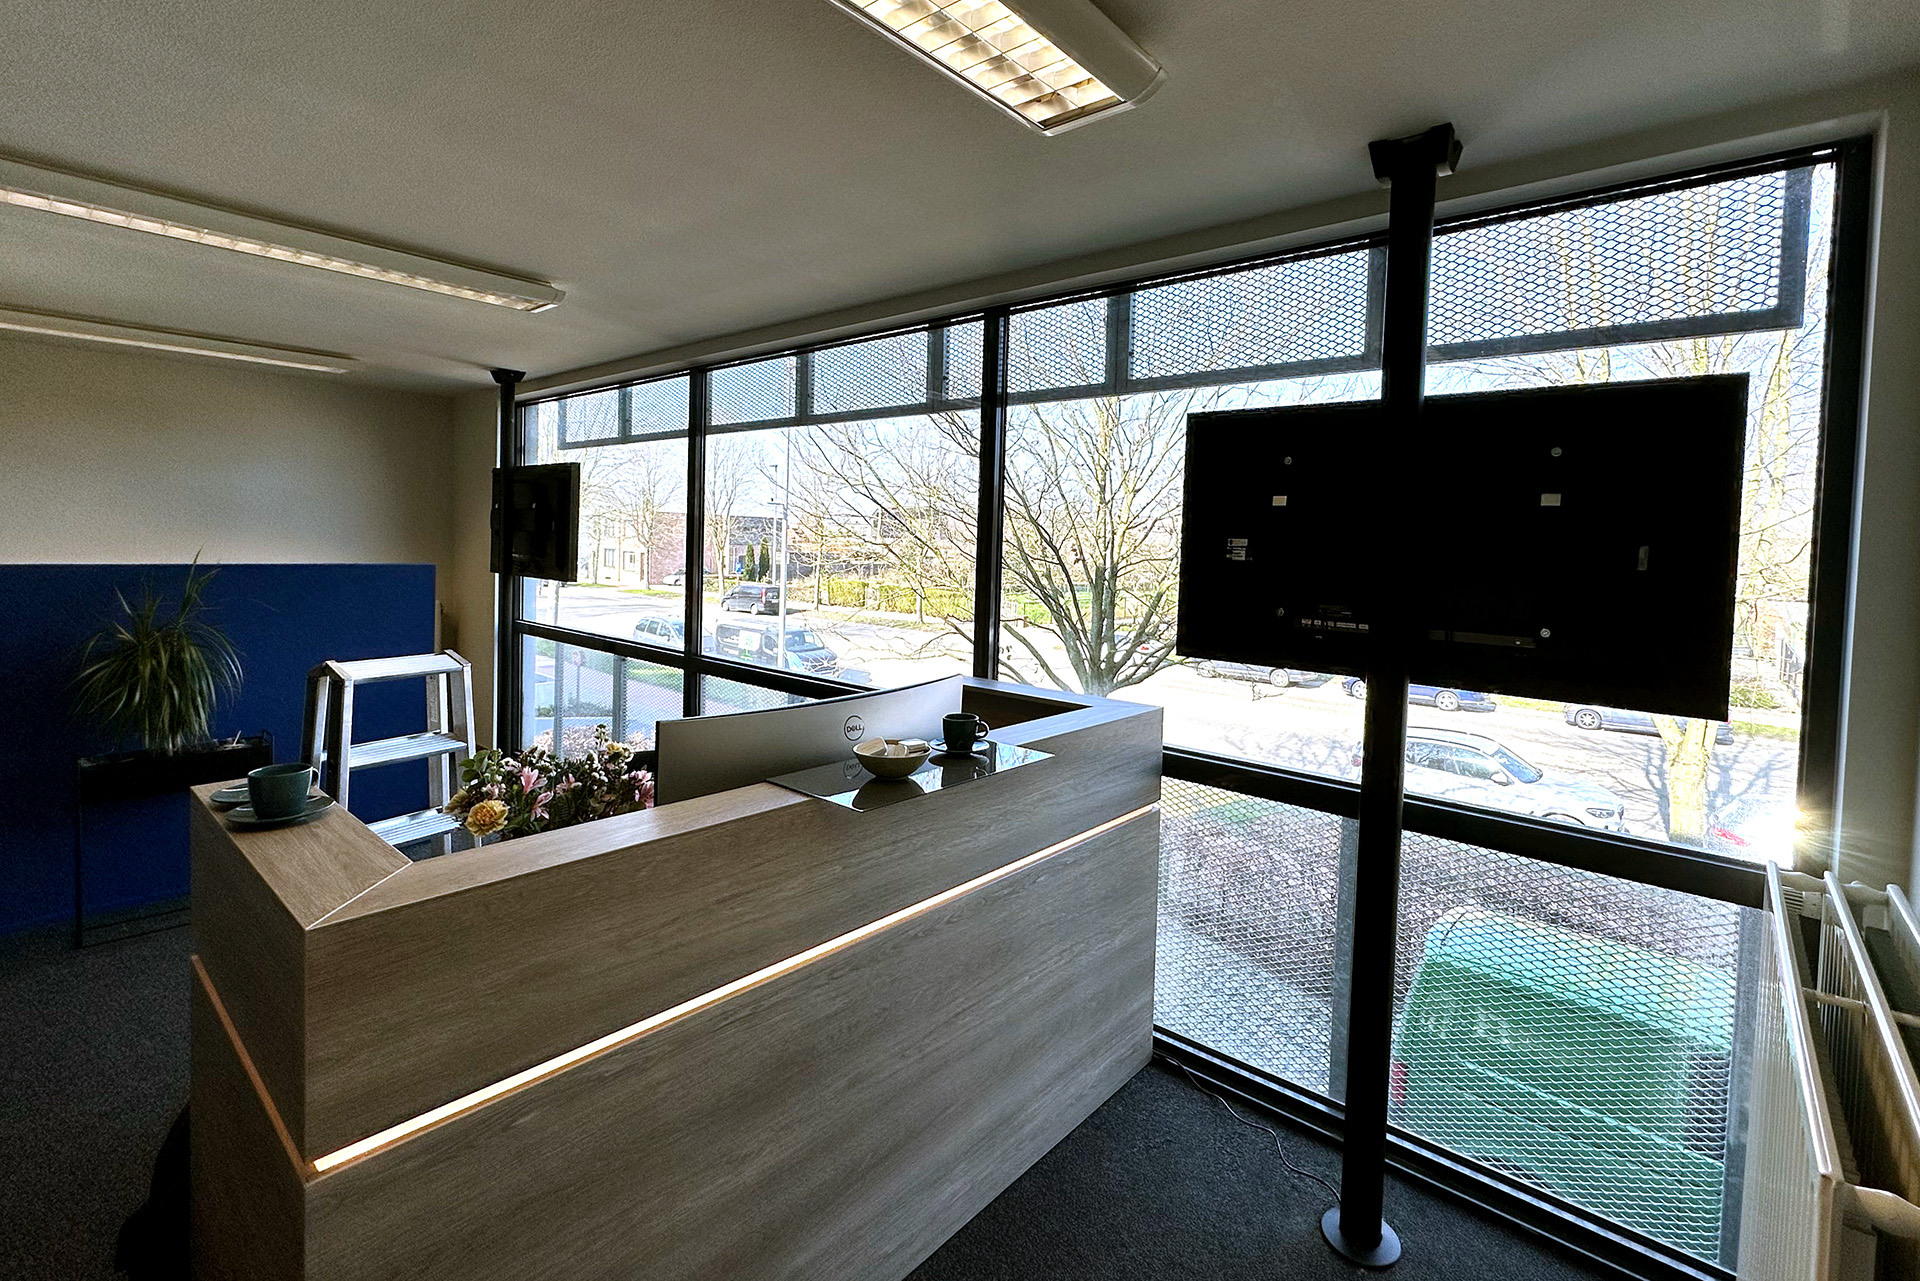
- Screens: Choose a screen that suits the location and intended use. For example, a larger screen with extra brightness for a shop window or a smaller screen for indoor use.
- Media Player: This is the device that plays the content on the screen. Some screens have a built-in media player, while others require an external player (such as a Linux player or other mini-PC).
- Mounting Materials: Depending on the placement, you will need specific brackets to mount the screens.
Step 3: Compare CMS Software
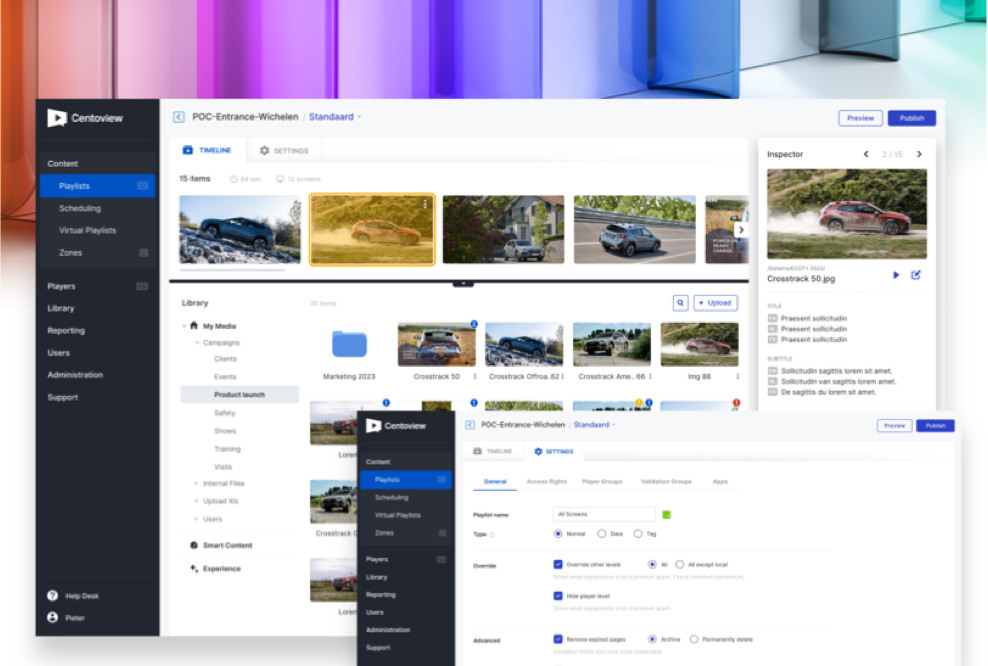
There are various software options for digital signage, and there is only one wrong choice: a USB stick with static content. Pay special attention to ease of use and the license price per display point. We always use our own developed digital signage software. Ease of use and strong data integrations provide a complete and unique digital signage experience.
We believe in the power of digital signage as a dynamic storytelling medium to engage customers, citizens, and employees. Our teams continuously innovate the platform to deliver advanced digital signage solutions that make our clients stronger and more agile.
Step 4: Create a Clear Content Plan
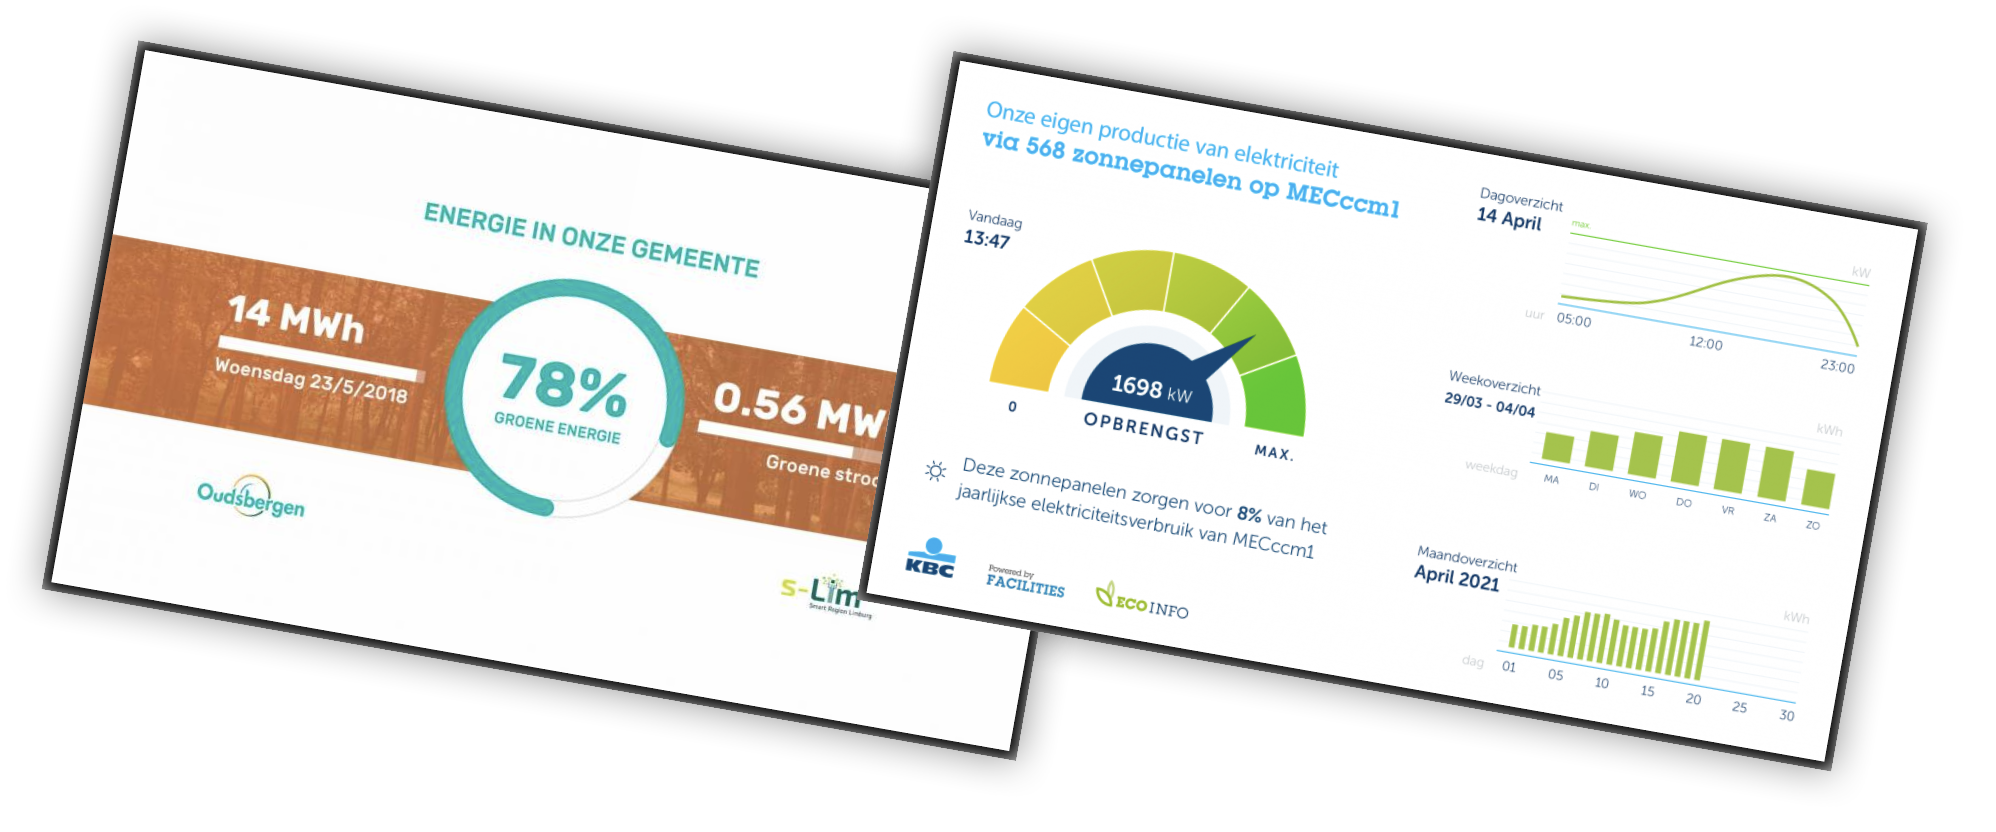
Keep it simple and clear, using short sentences and clear visuals. Use engaging images and videos. High-quality visuals attract more attention. Add dynamic content such as weather, news, or social media feeds. This keeps the screens interesting without extra effort. Design software packages like Canva or the Adobe Suite can help create professional designs, even if you don't have a background in design.
Step 5: Installation and Setup
Collaborate with an integrator like Digitopia. Our approach focuses on making your digital signage story successful on your displays. Instead of starting from a technical perspective, we first try to assess your needs, desires, and locations together before designing a proposal.
Regardless of the size of the project, we support every part of the process from start to finish to ensure that the concept and content perfectly match the target audience.
Step 6: Maintenance and Security
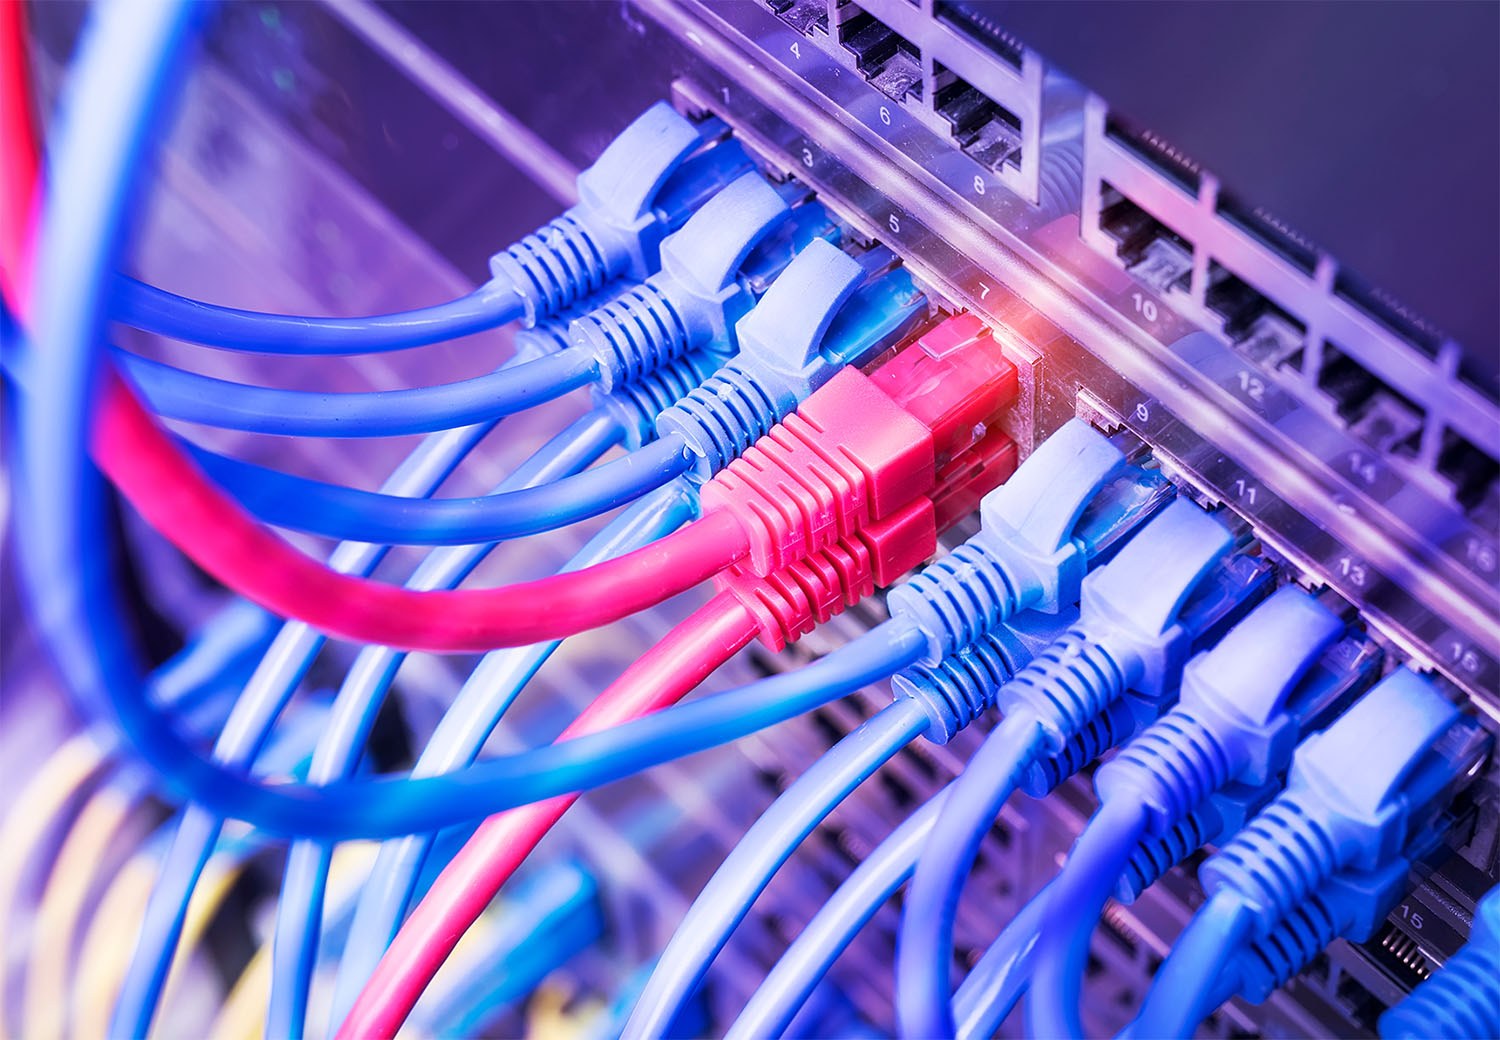
Thanks to built-in alert functions in digital signage CMS like Centoview, black screens are a thing of the past. The hardware (player or SoC) is connected to our NOC (Network Operations Center).
We can analyze and interpret all incoming data, so we are immediately aware of any discrepancies in connections, temperature, brightness, status, etc. In most cases, we detect and resolve an issue before the customer even notices.

